Devfolio MCP
Devfolio MCP lets you connect Devfolio to AI tools like Claude Code, Codex, Cursor, and OpenCode, so they can help you with your hackathon submissions using context from your local project files.
Once connected, your AI tool can quickly understand your codebase, help you write stronger submissions faster, surface relevant tracks to apply for, and make it easier to showcase what you’ve built.
Quick Start
- Open
Account Settings > MCP. - Choose your AI tool and run the command or paste the config shown.
- On first connect, follow the steps in your browser to authorize Devfolio.
Manage access
On first connect, your AI tool will open a browser to authorize Devfolio. You can revoke that access any time from Connected clients on the MCP settings page.
Where Can I Find Devfolio MCP?
You can find Devfolio MCP in Account Settings, your hackathon dashboard, and the project submission page.
Hackathon dashboard and submission-page shortcuts appear only when project submissions are open and your account is eligible to submit.
1. From Account Settings
Go to your profile menu, open Account Settings, and select the MCP tab.
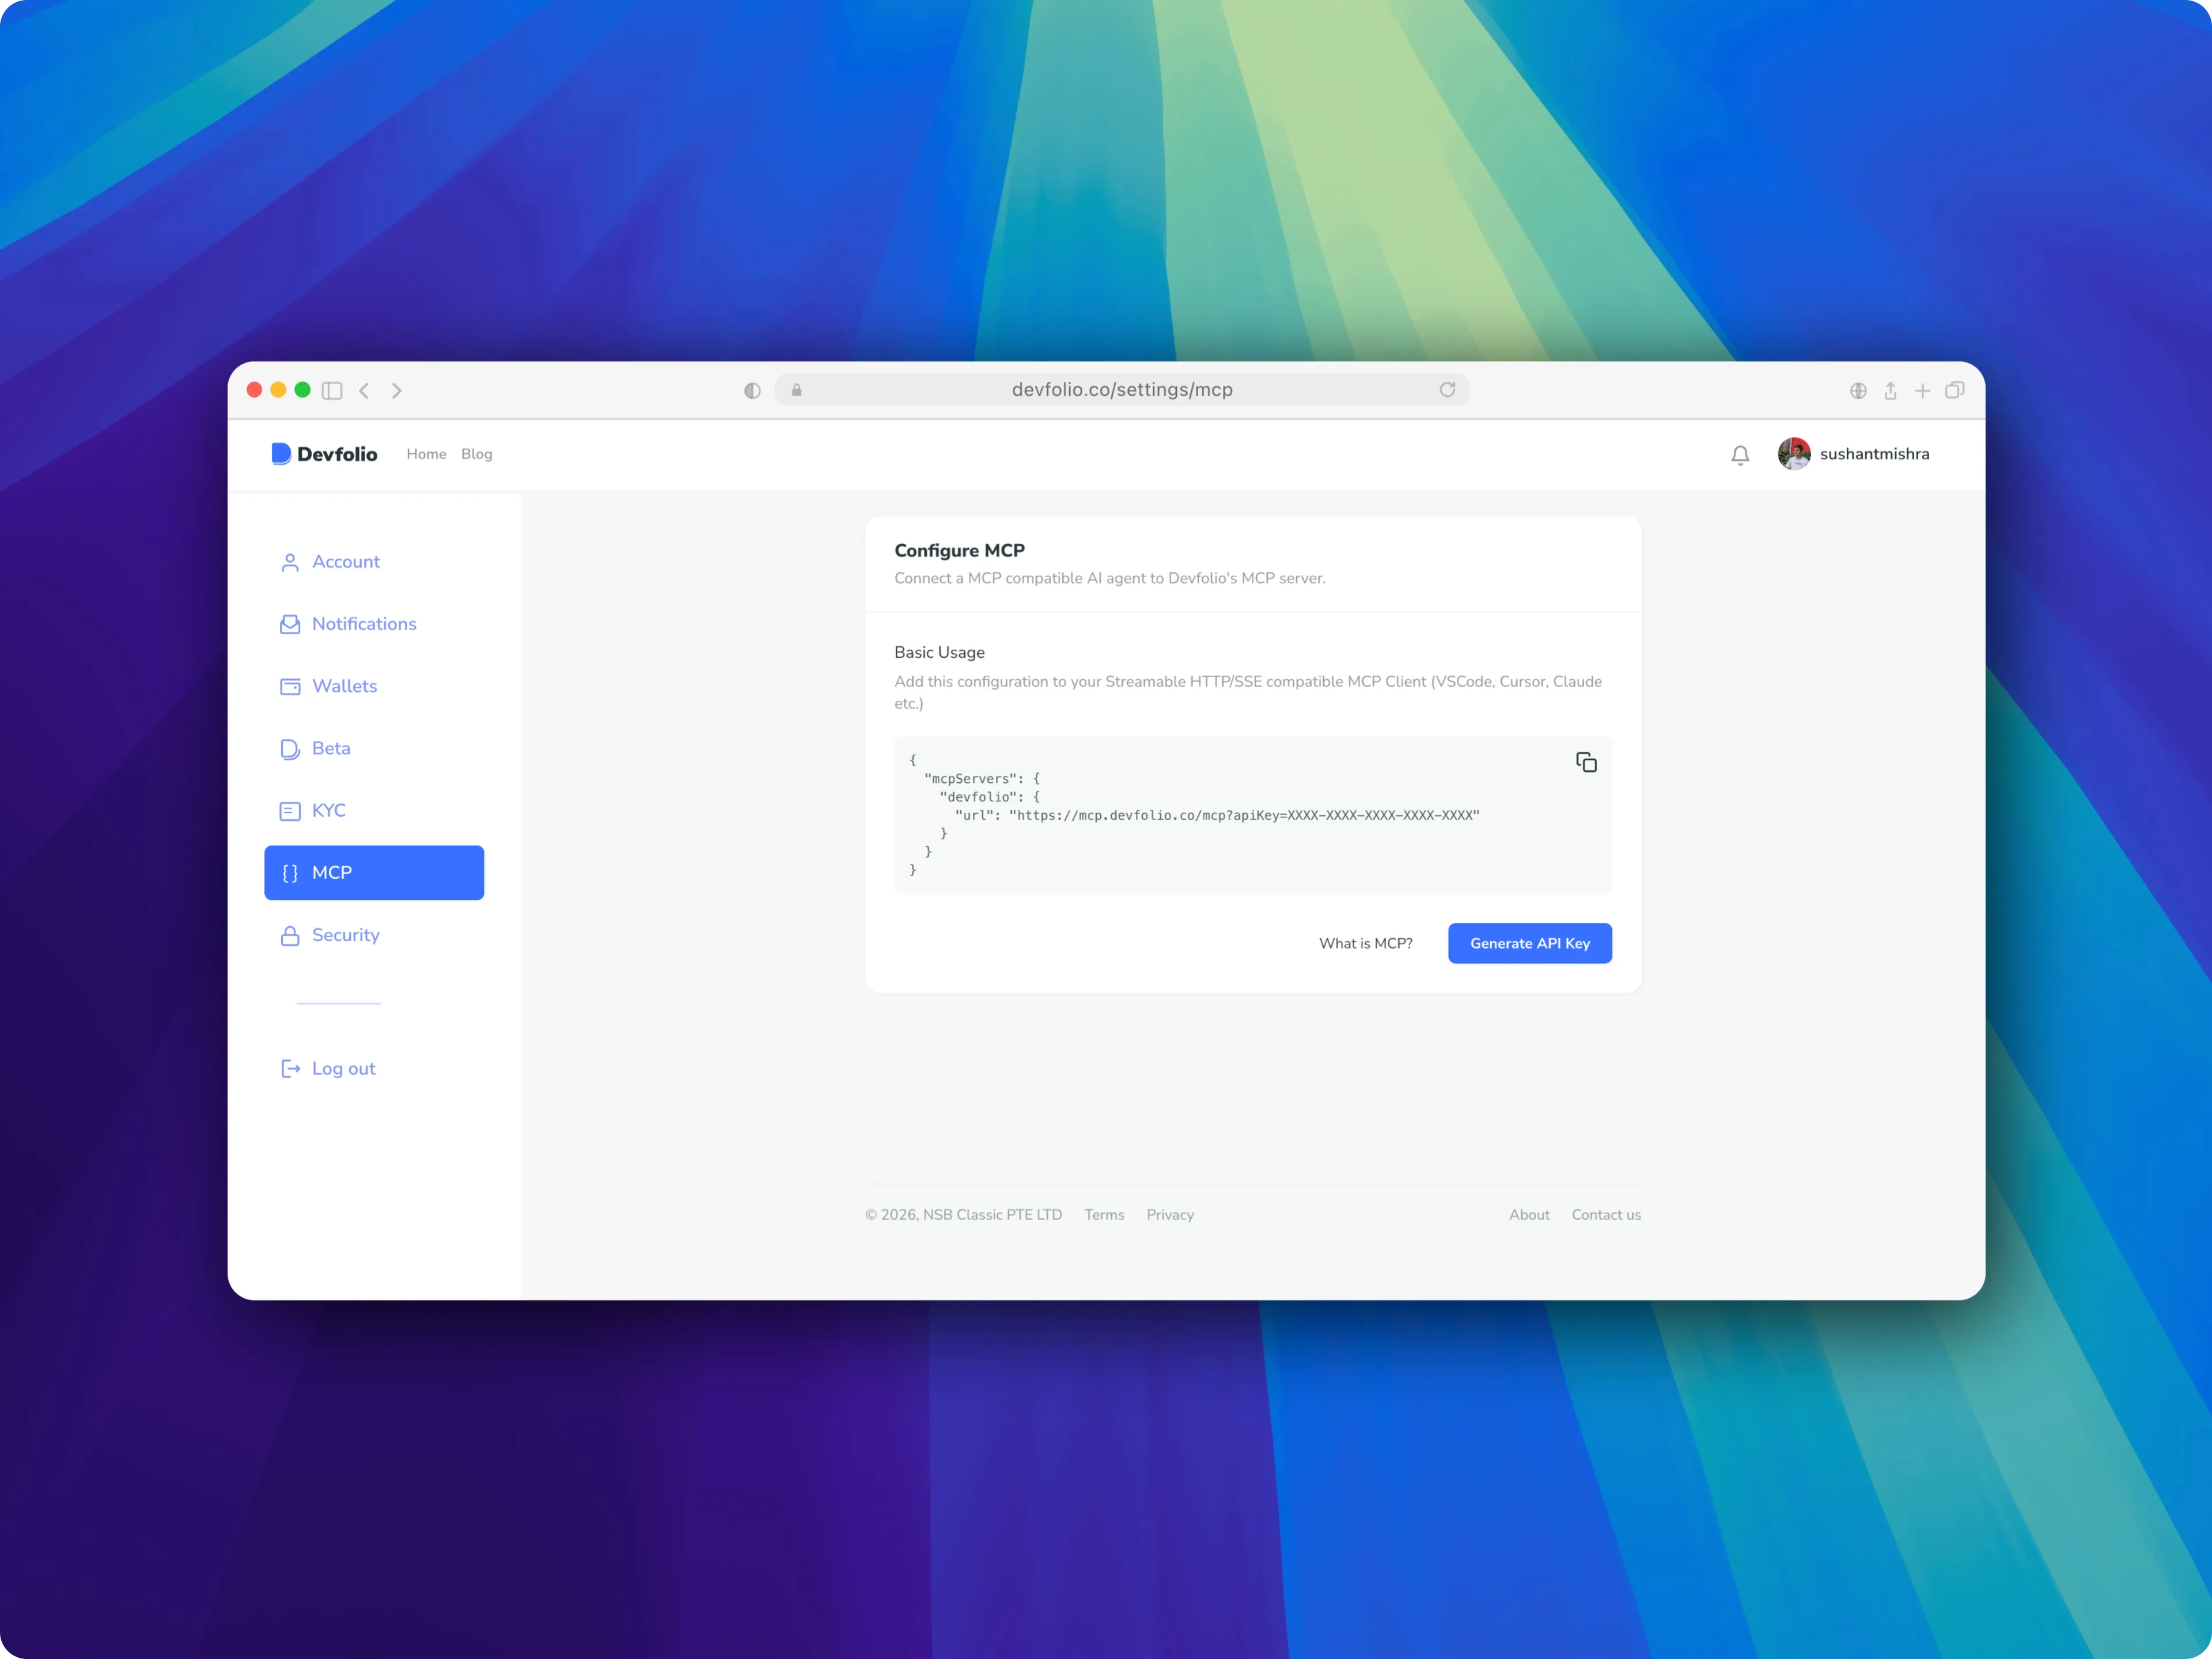
Choose your AI tool from the setup options, run the command or paste the config, then authorize Devfolio in your browser on first connect.
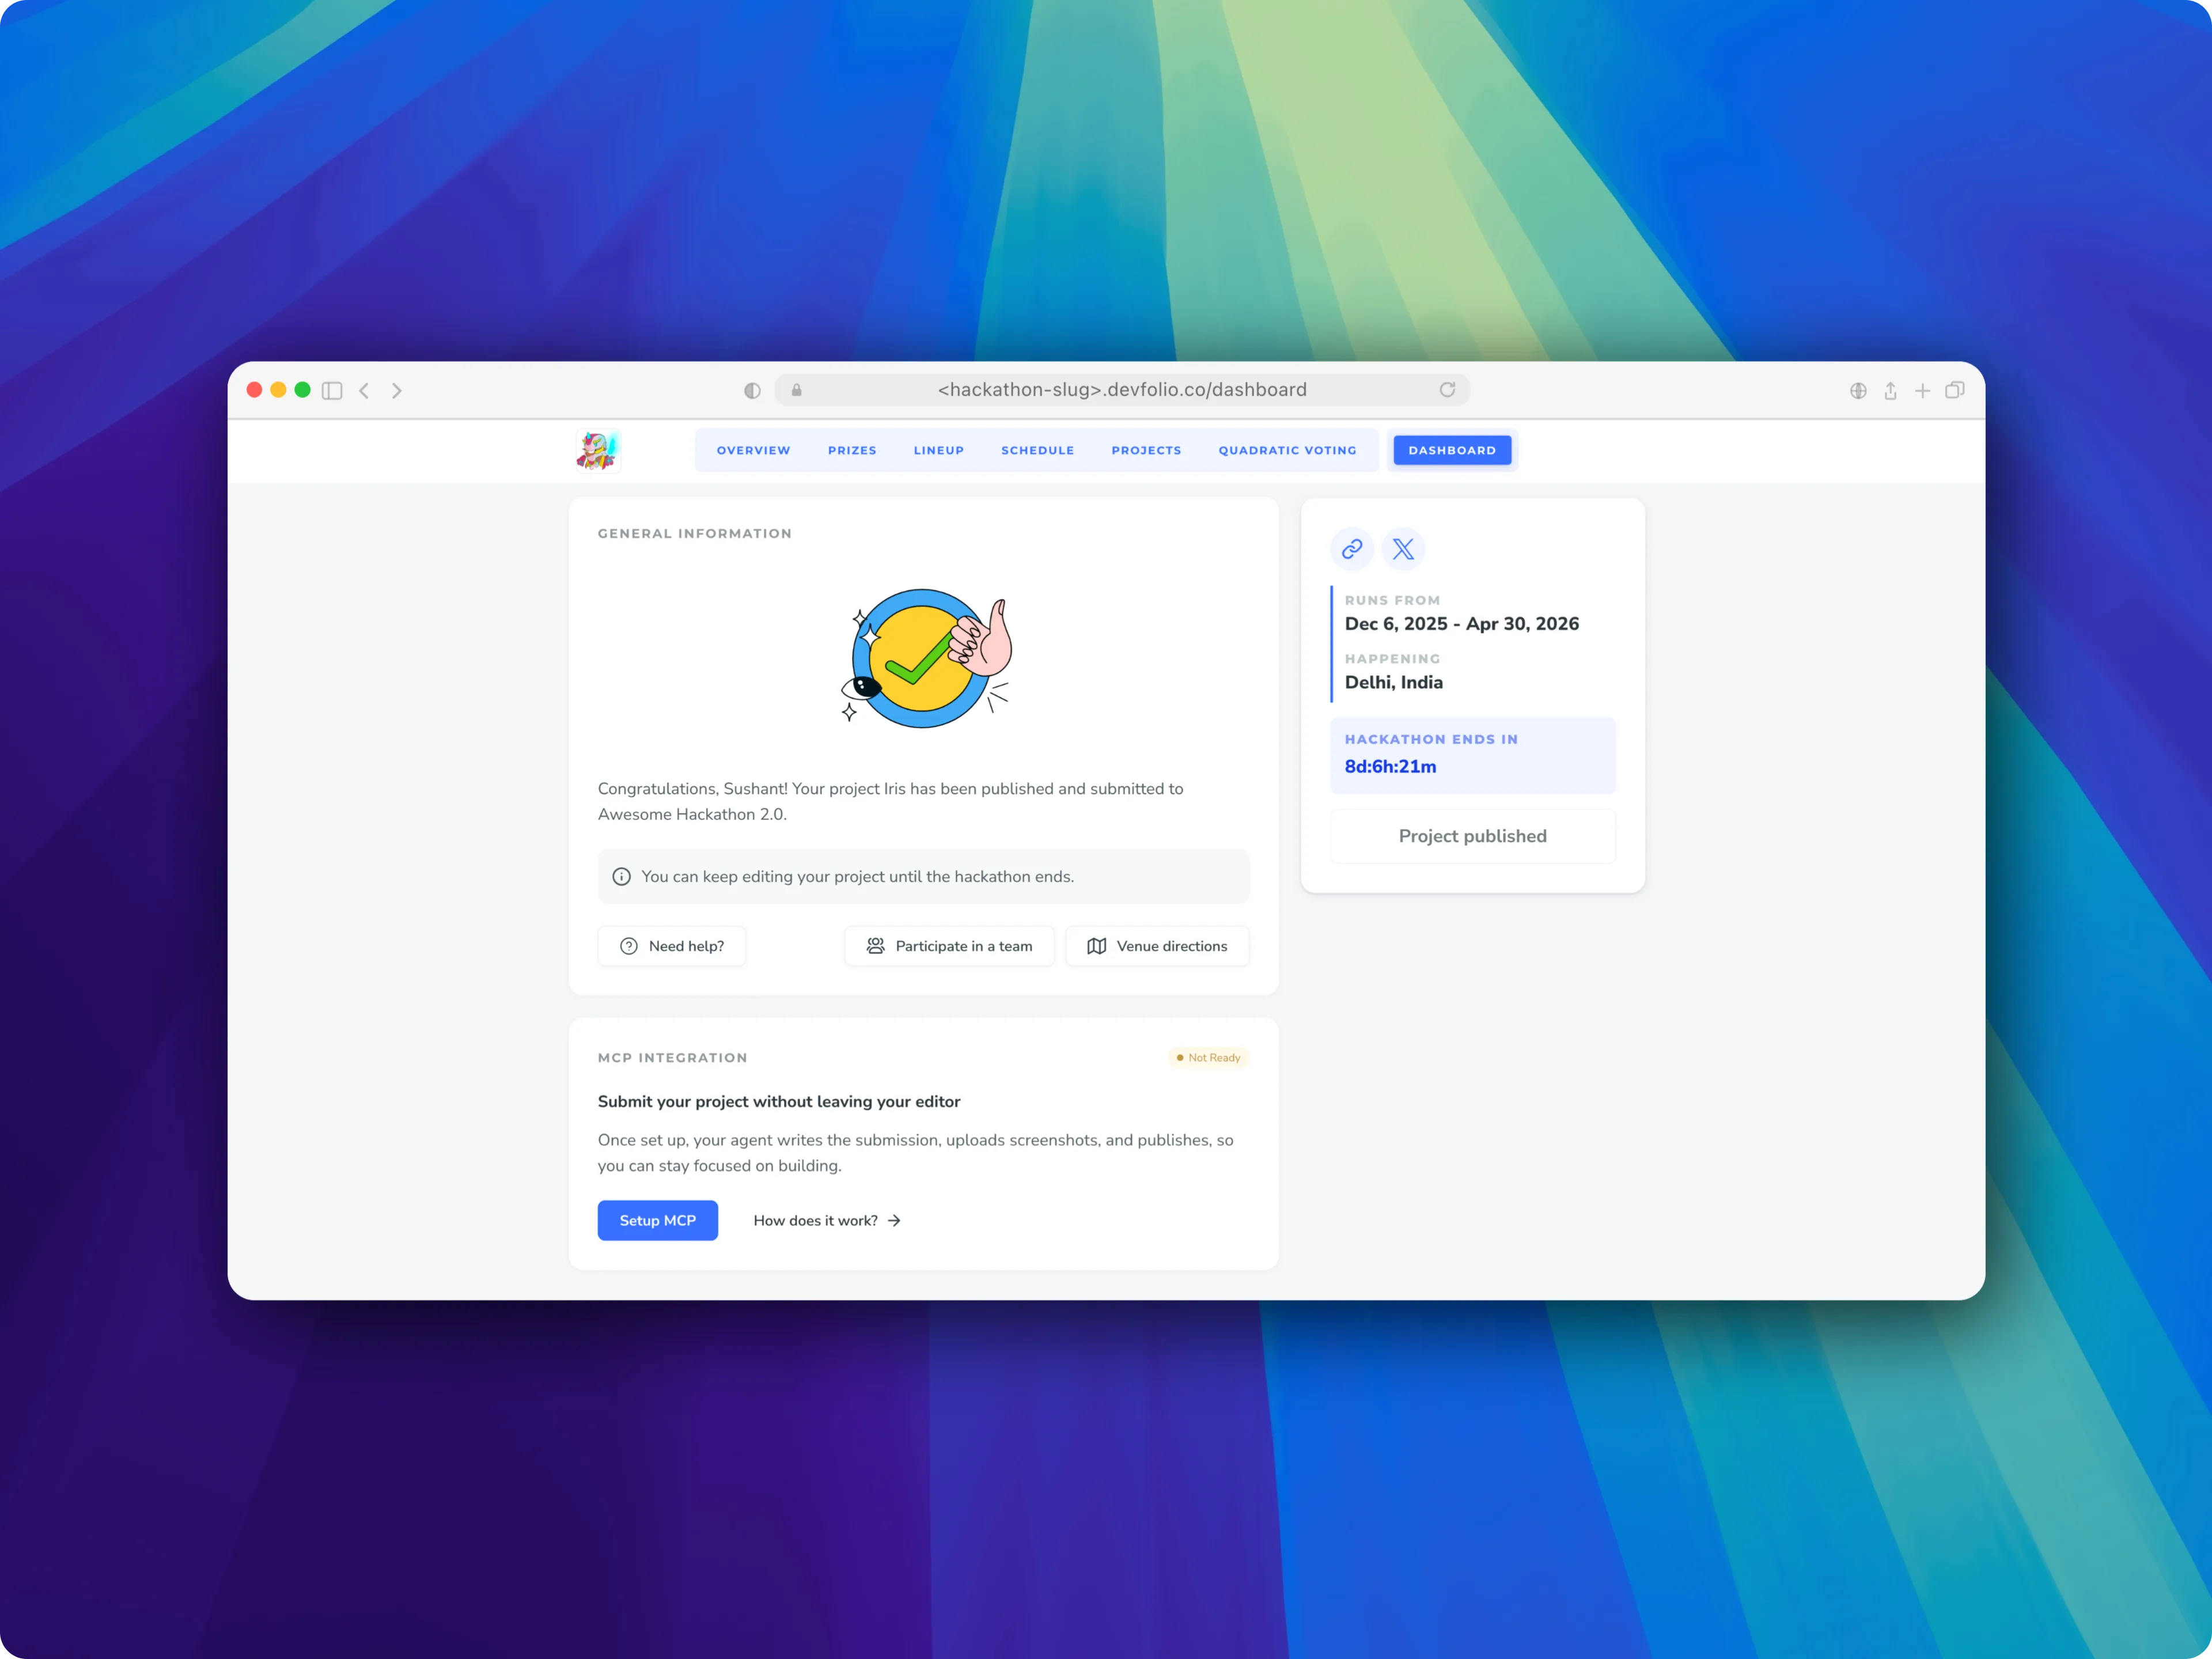
2. From Your Hackathon Dashboard
For hackathons where submissions are open to you, you may also see an MCP Integration card on your hackathon dashboard.
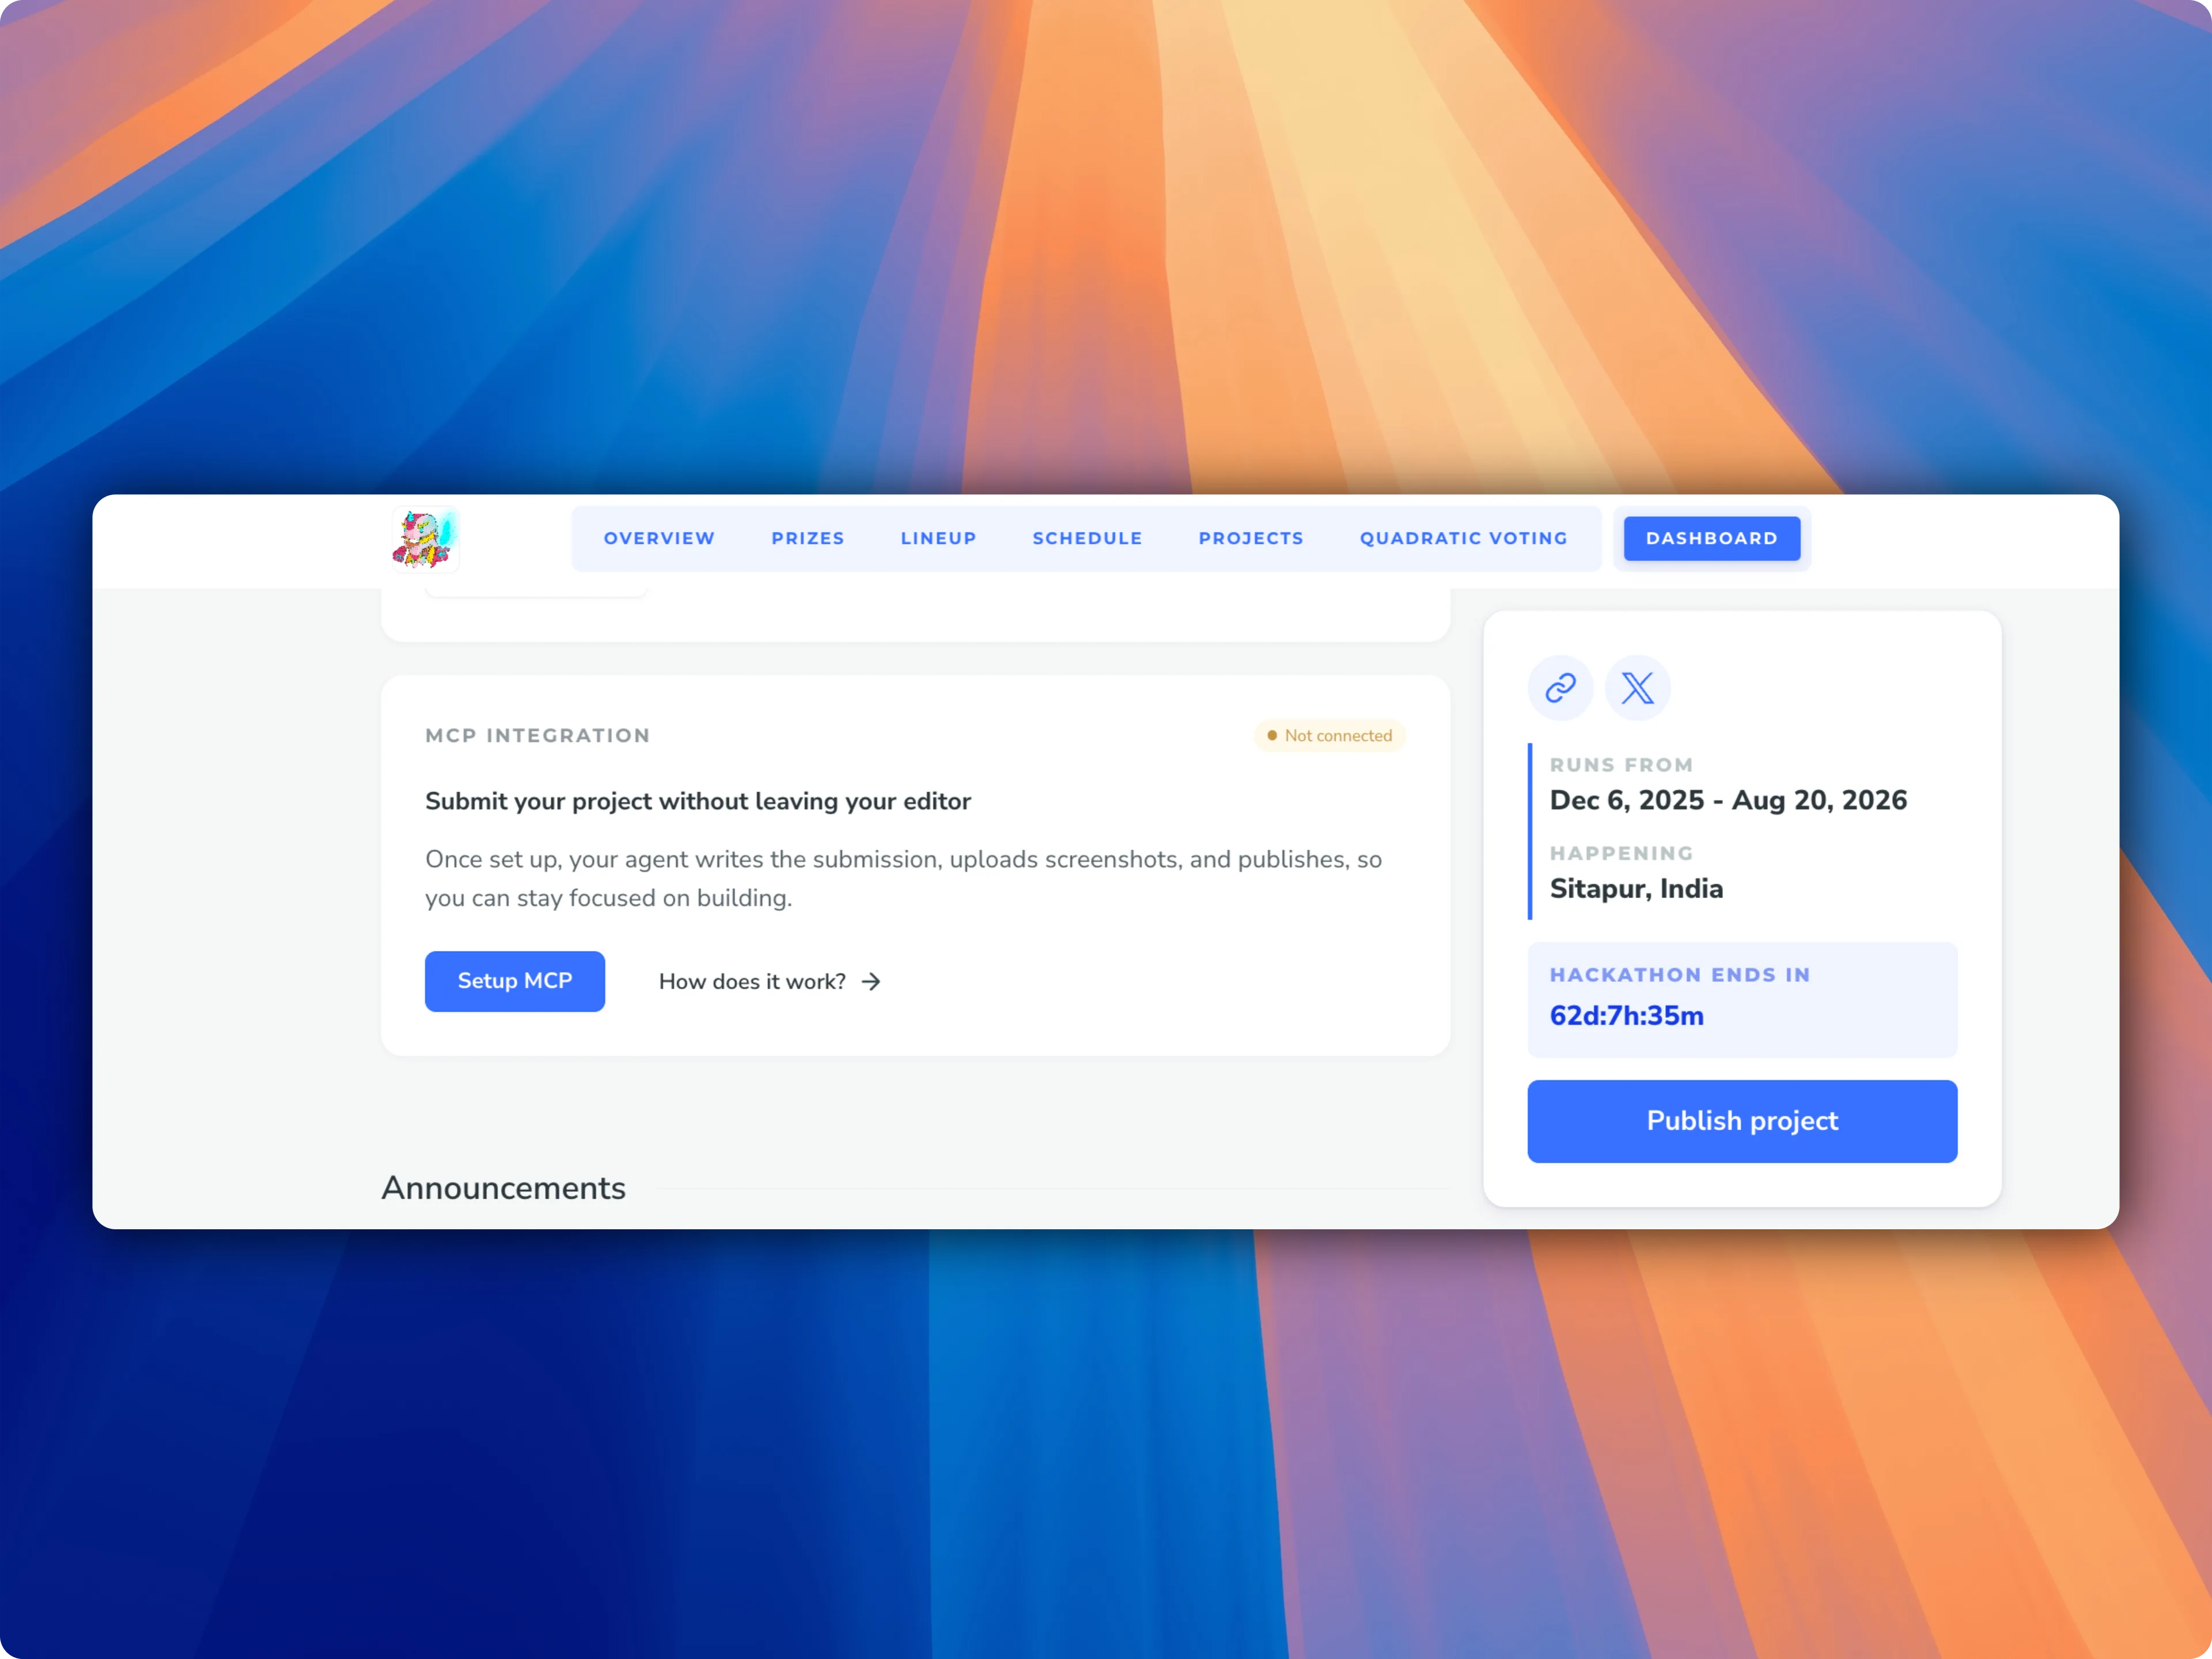
Use Setup MCP Button for the next steps to configure
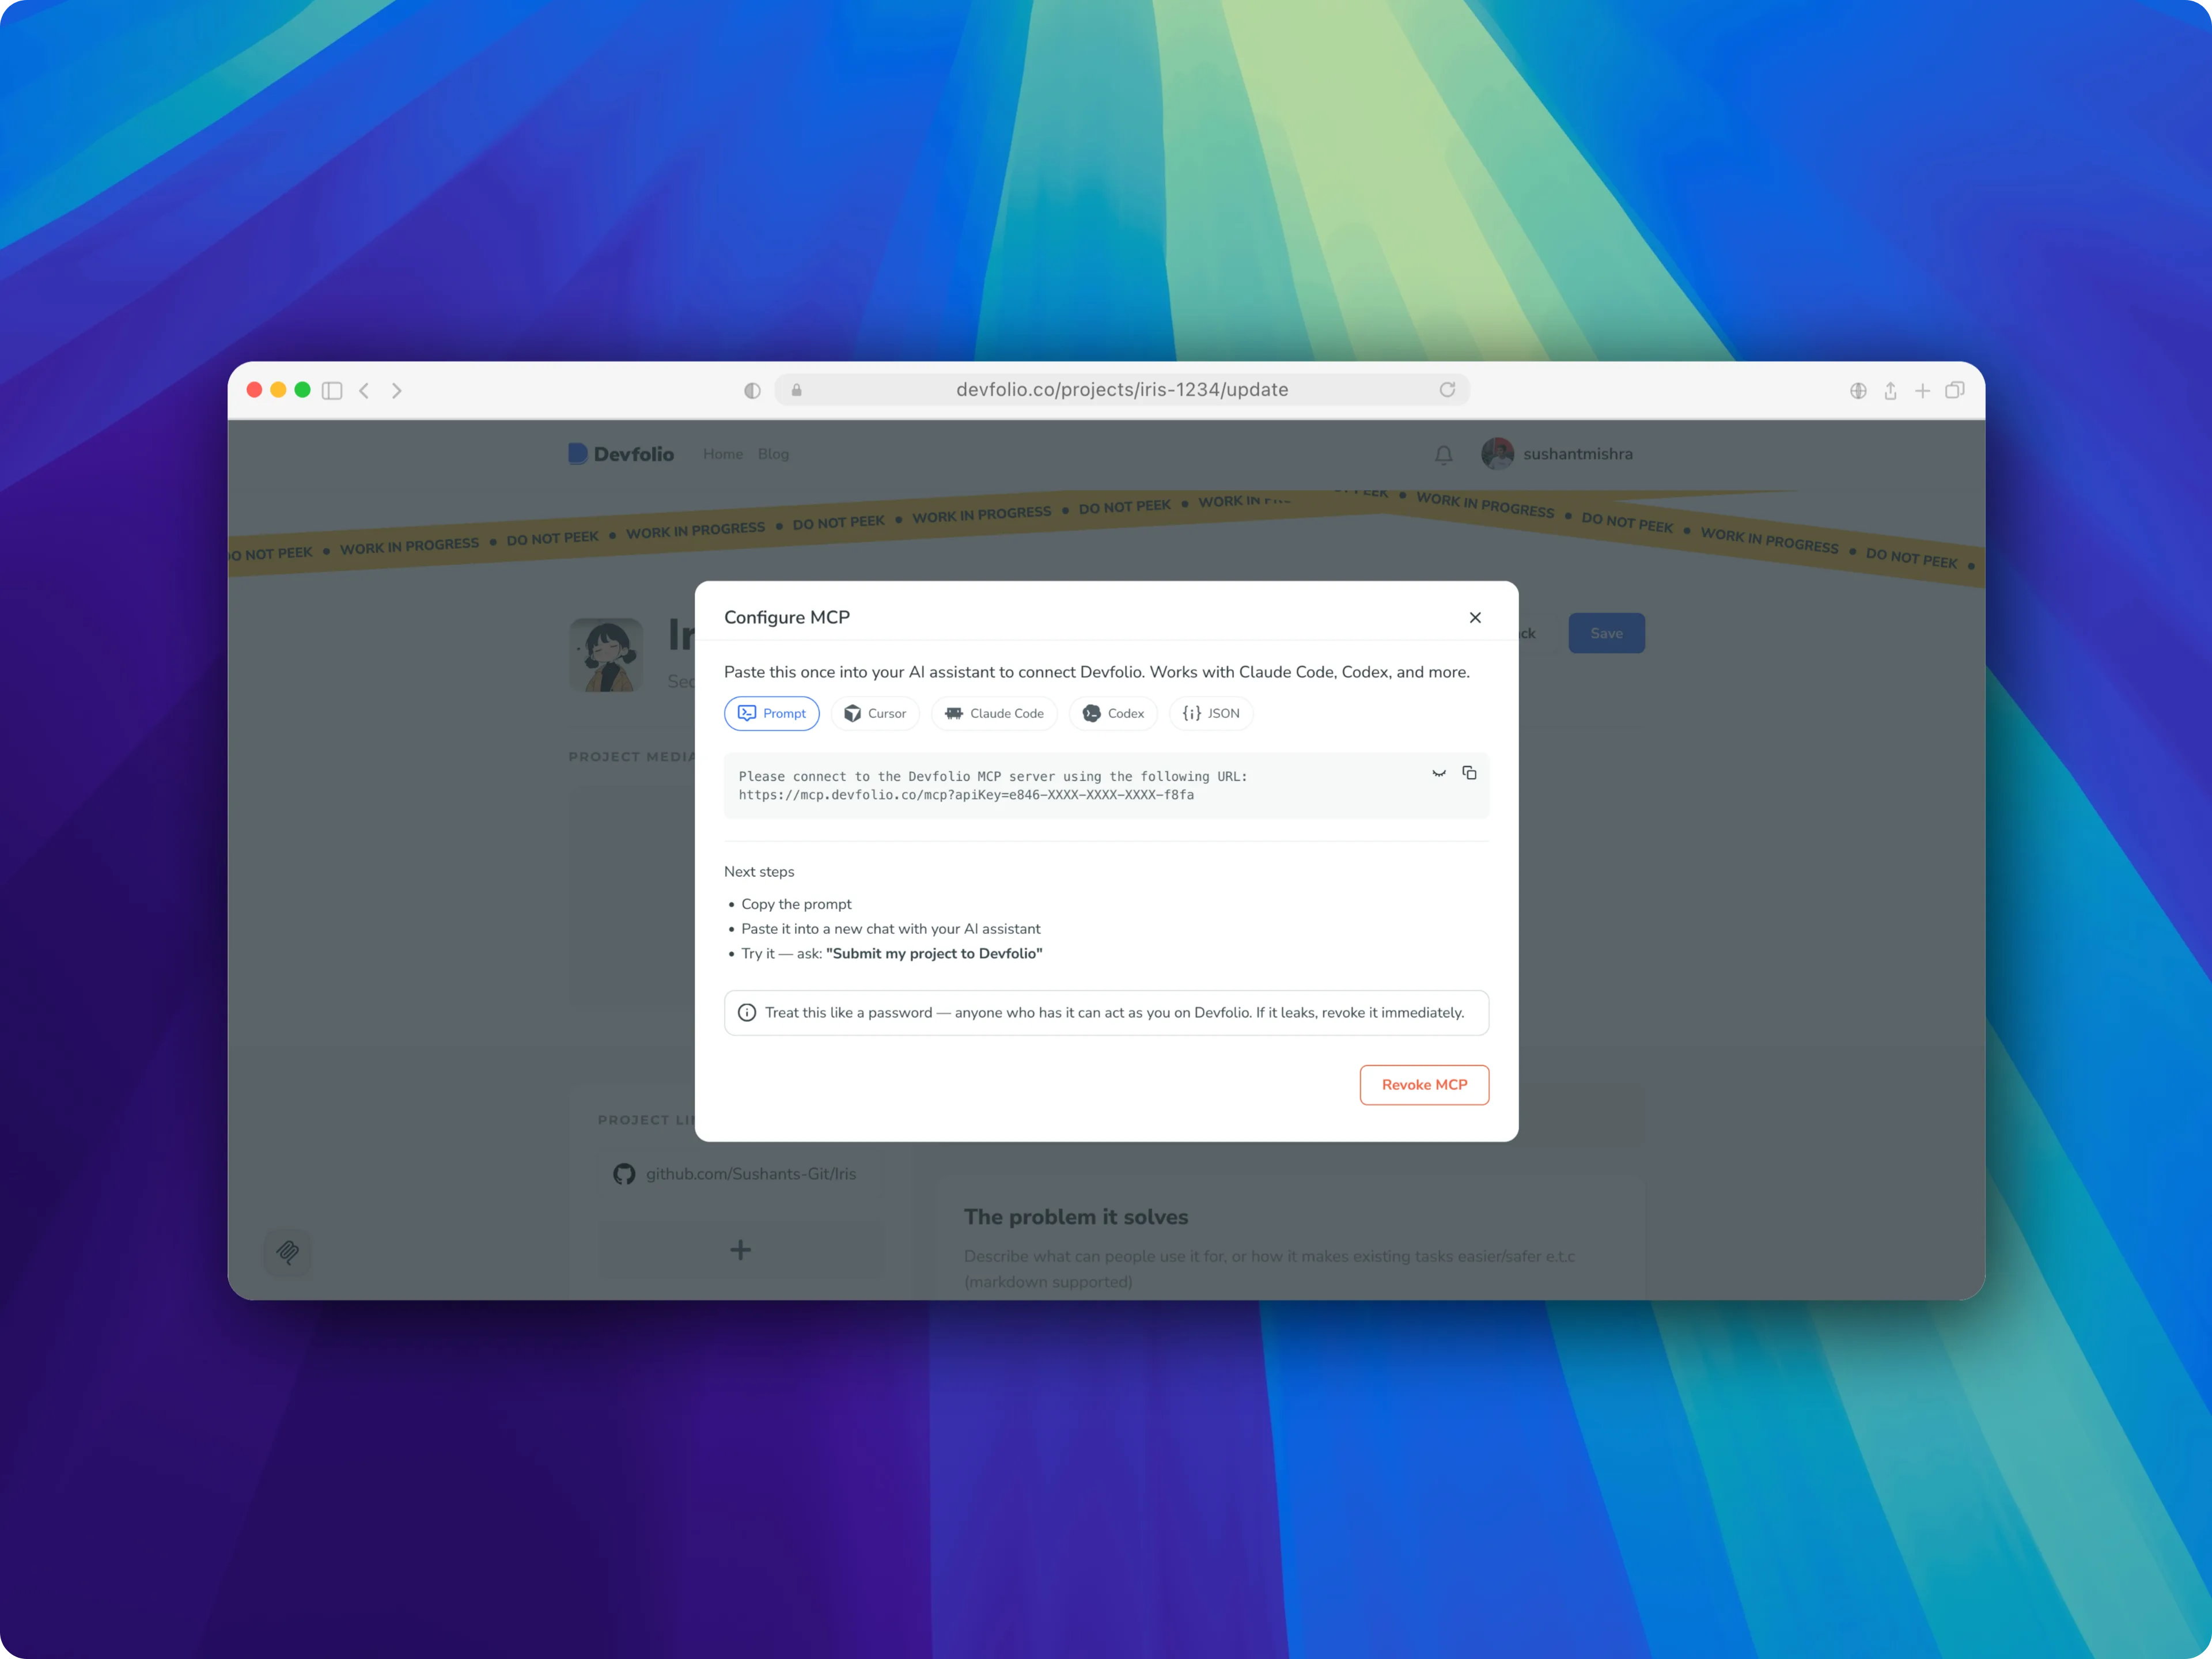
3. From the Project Submission Page
When you are submitting a hackathon project, you may see a small floating MCP assistant button in the bottom-left corner of the submission page.
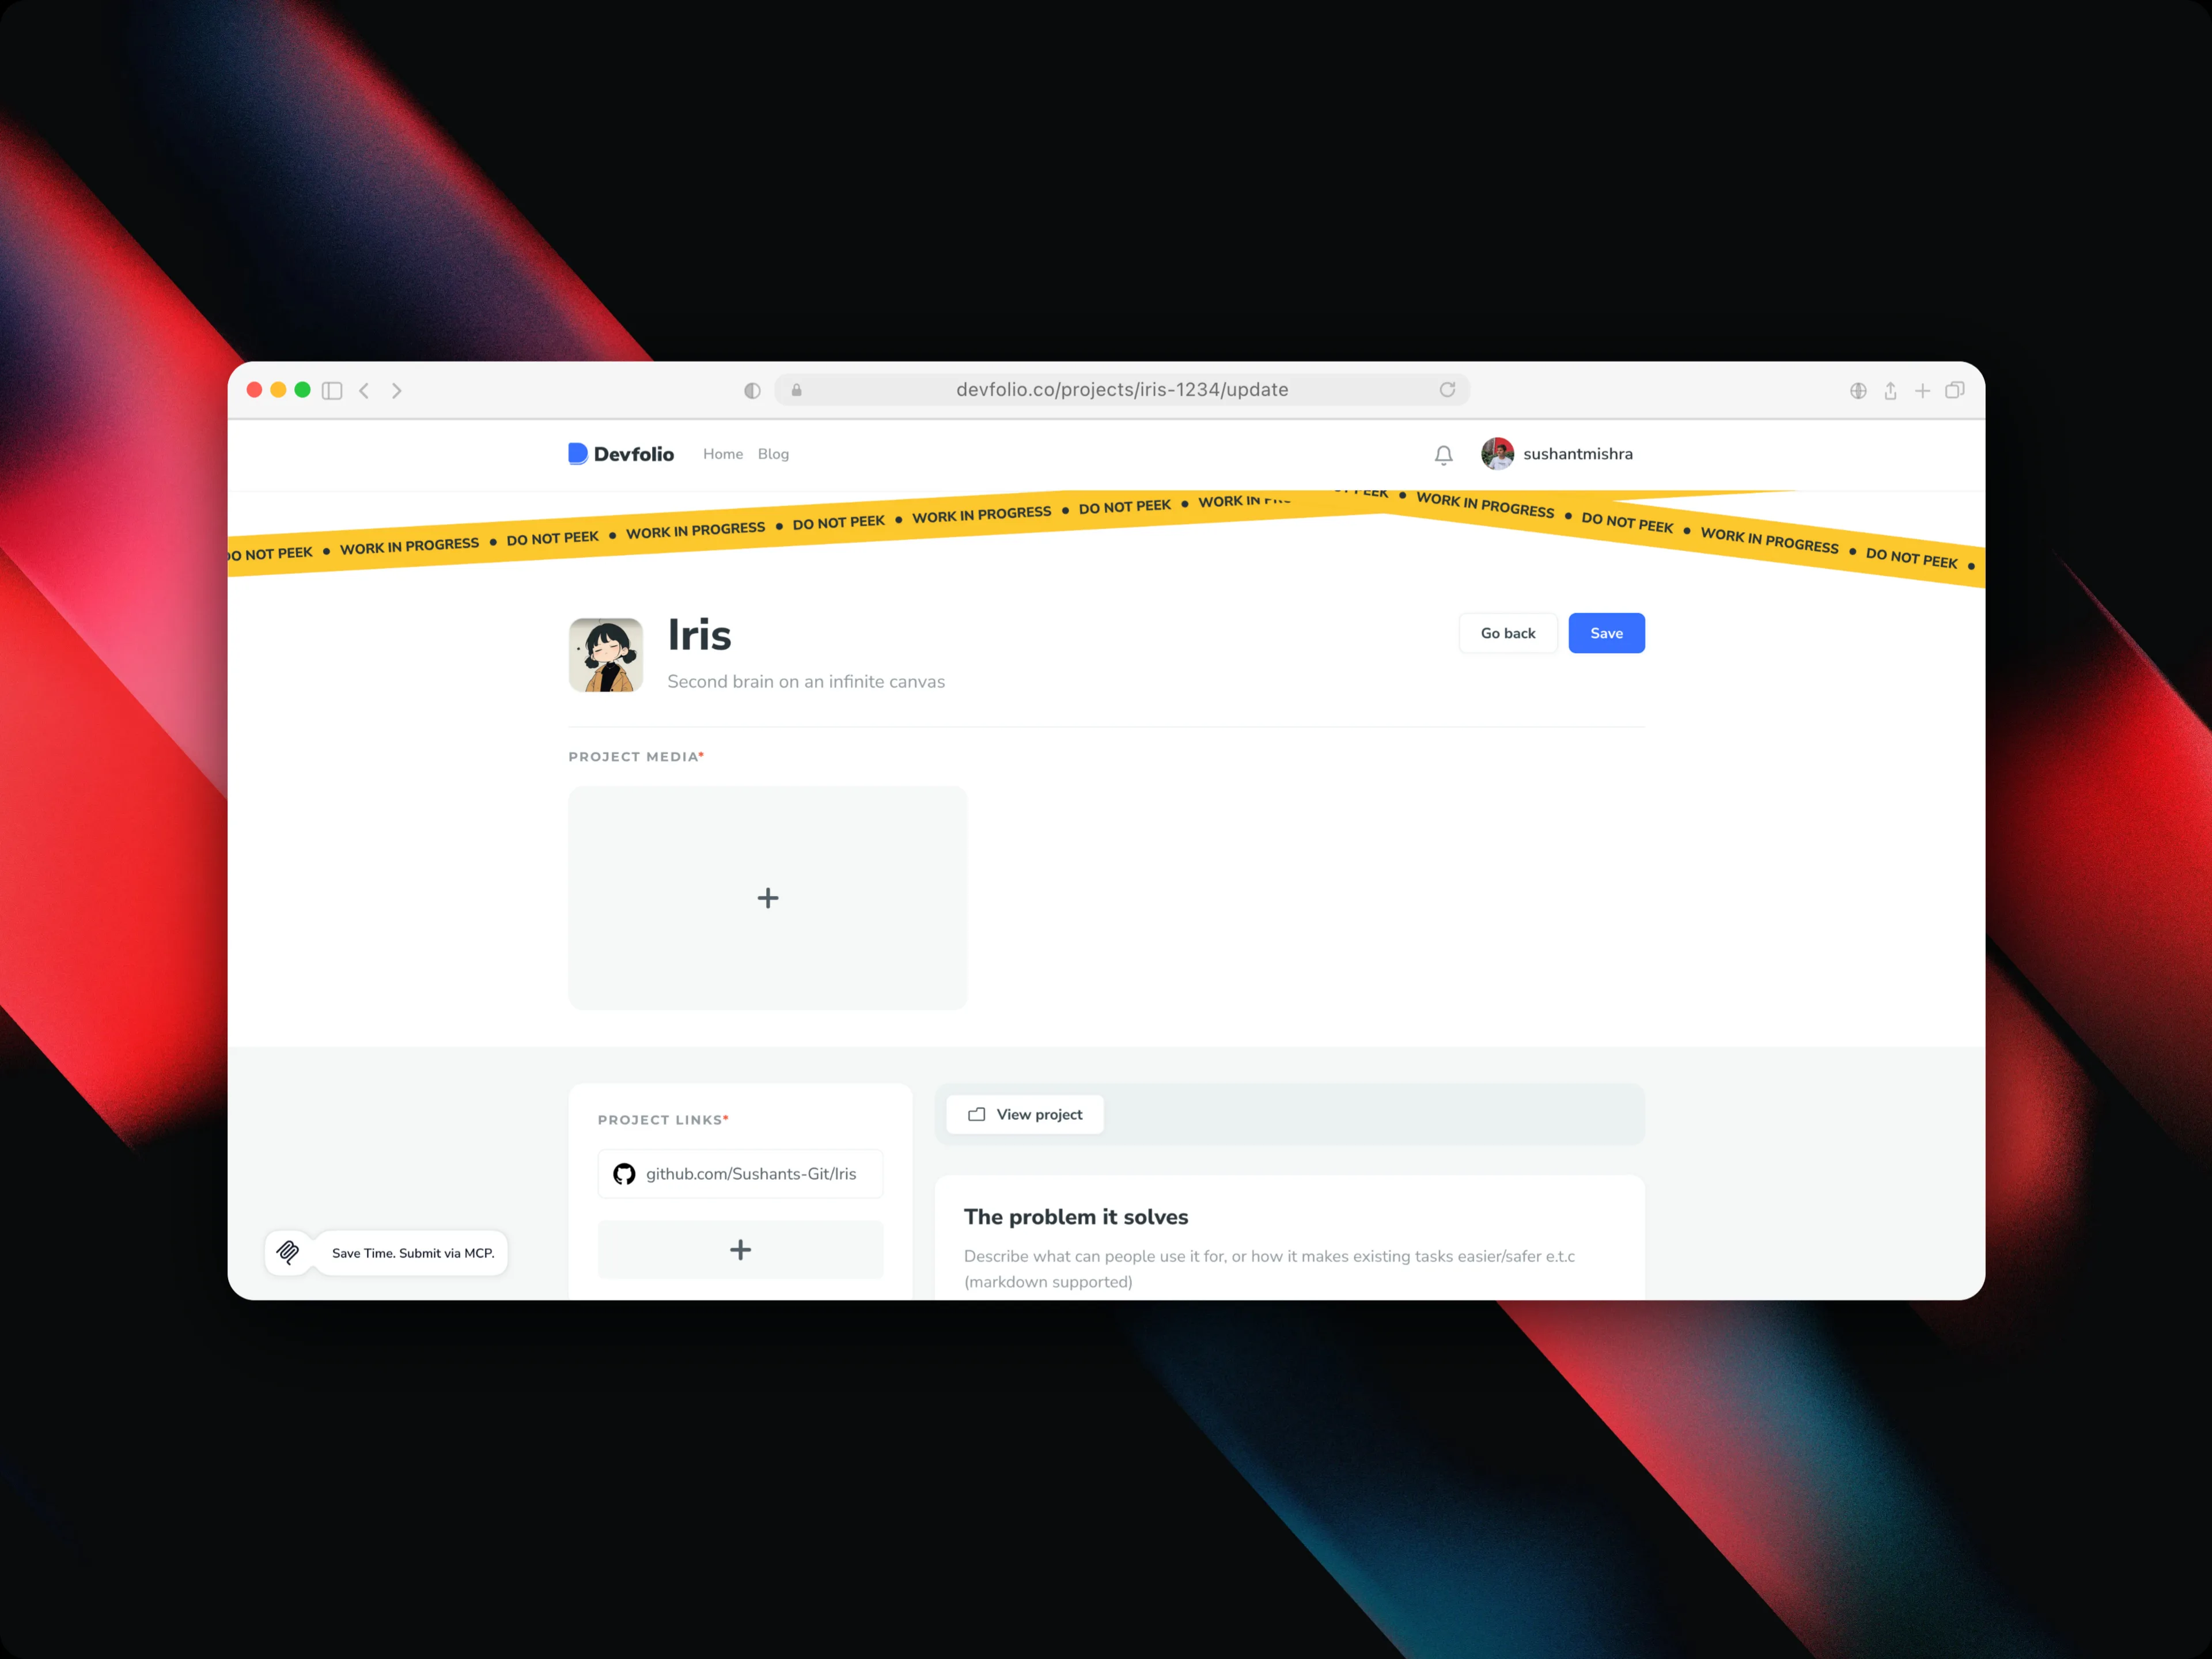
Clicking this button opens the MCP setup window.
Setup Commands and Configuration
Run this command in your terminal:
claude mcp add --transport http devfolio --scope user https://mcp.devfolio.co/mcpNext steps:
- Run the command in your terminal to add the Devfolio server.
- Open Claude Code and run
/mcp. - Follow the steps in your browser to authorize Devfolio.
- Ask: "Submit my project to Devfolio"
Click Add to Cursor in the setup window, then approve the Devfolio MCP server installation in Cursor. You will be prompted to authorize Devfolio in your browser on first connect.
Copy this command and run it in your terminal:
codex mcp add devfolio --url "https://mcp.devfolio.co/mcp"Add the following to your OpenCode MCP config:
{
  "mcpServers": {
    "devfolio": {
      "url": "https://mcp.devfolio.co/mcp"
    }
  }
}
For any MCP-compatible client, use this configuration:
{
  "mcpServers": {
    "devfolio": {
      "url": "https://mcp.devfolio.co/mcp"
    }
  }
}
Example Prompts
After connecting Devfolio MCP, try prompts like:
Submit my project to Devfolio.Suggest the best prize tracks for my project.Rewrite my tagline to be clearer and more judge-friendly.Check whether my submission is missing anything important.Summarize the prizes for this hackathon.
Access control
You can view and revoke authorized agents any time from the Connected clients section at Account Settings > MCP.
How is this guide?